AJS Furniture
Creating a custom wardrobe insert can transform your space. However, accurately measuring is crucial. Knowing how to measure for custom wardrobe inserts is the first step toward achieving a perfect fit.
When measuring, precision is key. Start with basic dimensions—height, width, and depth. Think about your storage needs. Will you include drawers or shelves? Each choice changes your measurements. Use a tape measure for clear results. Record your numbers carefully. Small errors can lead to significant issues.
It's okay to feel overwhelmed. Measuring is not always straightforward. Consider seeking professional advice if needed. A reliable expert can help clarify complex measurements. Ultimately, the goal is functionality and style. Taking your time will lead to the best outcome.
When measuring for custom wardrobe inserts, understanding your wardrobe space is crucial. Accurate dimensions can significantly impact both aesthetics and functionality. According to the American Closet Association, 80% of homeowners struggle with organizational issues in their wardrobes, which often stems from insufficient measurement and planning.
Start with height and width. Use a tape measure, noting the total available space. Measure both the inside and outside dimensions. Many forget to account for door swings. Ignoring this can lead to wasted space and inefficient access.
Next, assess depth. The average wardrobe depth is around 24 inches, but this can vary. Don’t be surprised to find shallow areas or odd angles. This can complicate insert design. Consider how often you’ll use each section. Some might need deeper sections for bulkier items. Reflecting on these specifics can lead to a more effective solution.
Choosing the right tools is crucial for precise measurements in custom wardrobe inserts. A reliable tape measure stands out as the first tool. It offers flexibility for various spaces. Opt for a metal or cloth variety. Both provide accuracy, but cloth is often easier to handle in tight spots. You may also consider a laser distance measurer for larger areas. This tool saves time and minimizes errors.
Marking your dimensions is equally important. Use a pencil or chalk to indicate measurements on walls or floors. Take your time with this step. Mistakes can lead to incorrect sizes. Remember, the goal is perfection. Also, consider a ruler for straight lines. It enhances the accuracy of your markings.
While you might feel confident in your measuring skills, errors can happen. Double-check each measurement to ensure reliability. It’s common to misread numbers, especially in awkward spaces. Don’t rush through the process. Patience leads to better results. Trust the tools, but also trust your experience. The right tools, combined with thoughtful measuring, pave the way to successful wardrobe inserts.
This chart illustrates the accuracy percentage of different measurement tools used for custom wardrobe inserts, highlighting the importance of selecting the right tool for achieving precise measurements.
Measuring your wardrobe accurately is key when planning for custom inserts. Start with the height of the wardrobe. Use a tape measure to determine the vertical space from the floor to the top shelf. This gives you a clear idea of how tall each insert can be. Remember to note any obstructions like hanging rods or lighting fixtures.
Next, measure the width at different points. Wardrobes are rarely perfectly straight. Take measurements from the left side to the right side at multiple heights. This helps identify any potential gaps or bulges in the design. Don't rush through this step. Small discrepancies can lead to significant issues later.
Depth is also vital. Measure the distance from the back wall to the door. Be aware of how the door opens. A depth that's too large might interfere with day-to-day use. Keep your space in mind as you consider insert designs. Take a moment to reflect on whether your current setup serves you well. Observing how you use the space can lead to better decisions when adding custom inserts.
Measuring irregular spaces for custom wardrobe inserts can be challenging but rewarding. Start by gathering essential tools like a flexible measuring tape and a notepad. With these, you can accurately capture unique dimensions. Pay extra attention to areas around fixtures or architectural features that may disrupt standard measurements. Take notes of any odd angles or curves.
When measuring, consider both vertical and horizontal dimensions. This helps ensure your wardrobe inserts fit snugly. Indicate any obstacles such as pipes or sloped ceilings. Visualize how these irregularities impact the design and functionality of your storage solutions. It is important to measure twice to avoid unnecessary errors.
Remember, precision is critical, but perfection is not always achievable. You may encounter unexpected challenges during installation. Reflecting on your measurements can lead to creative solutions, enhancing overall design. Adjusting your approach based on real-world conditions will improve your final outcome. Embrace the learning process as you create a custom fit for your unique space.
When measuring for custom wardrobe inserts, organizing your measurements is key. Start with a reliable tape measure. Ensure it lays flat against the surfaces you are measuring. This reduces errors. According to industry reports, more than 30% of custom wardrobe orders face delays due to measurement inaccuracies. Taking the time to document measurements can significantly improve the efficiency of your project.
Consider a dedicated notebook or digital tool for tracking your measurements. For instance, measure the width, height, and depth of your wardrobe space. Record each measurement clearly and label them for easy reference. A study indicates that detailing measurements helps increase accuracy by up to 25%. Inaccuracies often arise from hasty measurements or poor documentation practices. Remember, uniformity is essential.
Avoid relying solely on memory or vague notes. Recheck your measurements after initial documentation. The process may feel tedious, but inconsistencies can lead to costly adjustments later. By methodically documenting each measurement, you build a clearer picture of your needs. This proactive approach minimizes the risk of errors and enhances the overall success of your custom wardrobe insert project.
: Accurate measurements affect both aesthetics and functionality. Many homeowners face organizational issues due to poor planning.
Start with height and width. Measure both inside and outside dimensions to avoid wasted space.
Depth typically averages 24 inches. Check for shallow areas or odd angles that may complicate insert design.
A reliable tape measure is essential. Consider using a laser distance measurer for larger areas to save time.
Use a pencil or chalk on walls or floors for marking. Take your time to avoid mistakes.
Mistakes can lead to incorrect sizes. Double-checking reduces the risk of misreads in awkward spaces.
Measure the width at multiple heights. This helps identify any gaps or bulges that might affect insert design.
Reflect on how you use your space. Observing functionality can enhance decisions when adding custom inserts.
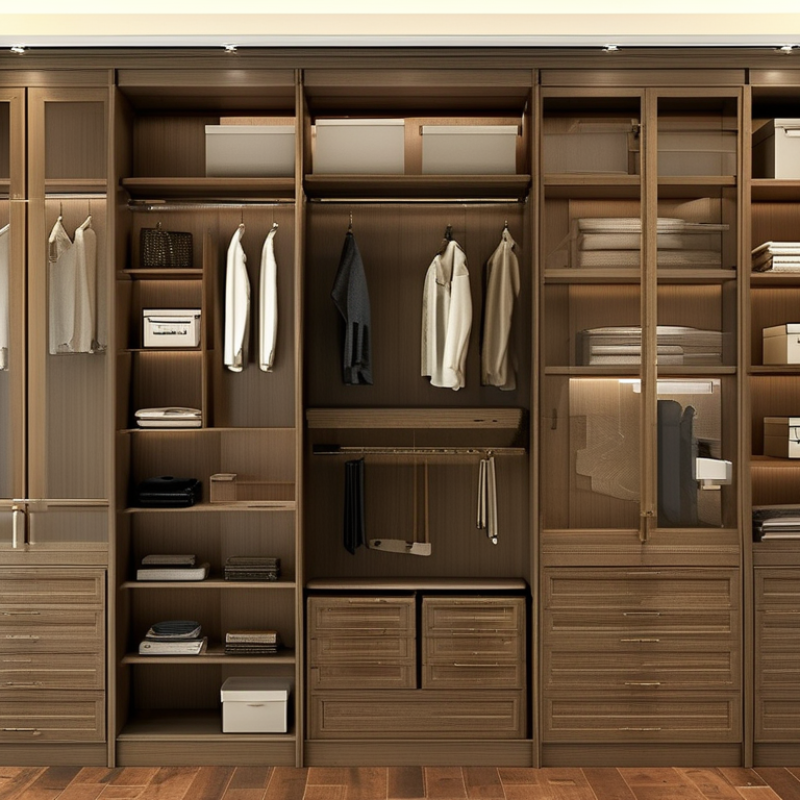
When considering "How to measure for custom wardrobe inserts," it is crucial to start by understanding the overall dimensions and layout of your wardrobe space. This involves carefully assessing the height, width, and depth of each section to ensure that the custom inserts will fit perfectly. Choosing the right tools, such as a tape measure and level, is essential for achieving accurate measurements.
Once you have the dimensions, measuring different sections of the wardrobe, including shelves, hanging space, and drawers, will provide a comprehensive blueprint. For irregular spaces and unique features, taking extra care and utilizing measuring techniques specific to those areas is vital. Finally, documenting and organizing your measurements systematically will streamline the process, making it easier to communicate your needs when creating custom wardrobe inserts.